I’m a firm believer that information is the key to financial freedom. On the Stilt Blog, I write about the complex topics — like finance, immigration, and technology — to help immigrants make the most of their lives in the U.S. Our content and brand have been featured in Forbes, TechCrunch, VentureBeat, and more.
See all posts Frank GogolB-2 Visa Application Process Explained
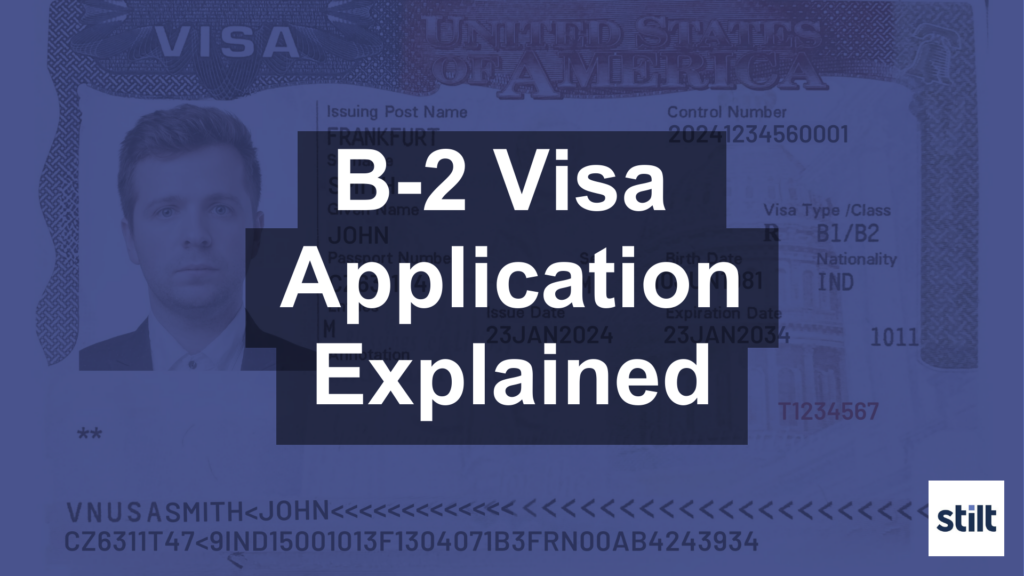
Applying for a B-2 visa to visit the United States can seem like a daunting task, with multiple steps and documents required. But don’t let the process intimidate you – with our step-by-step guide, you’ll navigate the B-2 visa application with confidence and ease. From determining your eligibility to preparing for your interview, we’ve got you covered every step of the way.
30 Second Recap:
The B-2 visa application process can be broken down into several key steps. First, applicants must determine their eligibility based on the purpose and duration of their intended stay in the United States. Once eligibility is confirmed, they must complete the online DS-160 form, providing accurate personal, travel, and background information. The next step involves gathering required documents, such as a valid passport, financial evidence, and proof of ties to their home country. After paying the application fee, applicants must schedule a visa interview at their nearest U.S. Embassy or Consulate. Preparing for the interview is crucial, as applicants must demonstrate their intent to return home after their stay and answer questions about their background and travel plans. If the visa is approved, applicants may need to pay an issuance fee and will be informed about the processing time. After receiving the visa, applicants should review it for accuracy and familiarize themselves with the terms of their stay. By following this step-by-step guide and preparing thoroughly, applicants can navigate the B-2 visa application process with greater ease and confidence.
B-2 Visa Application Process
Navigating the B-2 visa application process requires understanding specific steps and preparing the necessary documentation. Your attention to detail and adherence to the guidelines are crucial for a successful application.
Eligibility and Requirements
To apply for a B-2 visa, establish that you have the intent to visit the United States for a temporary period, whether for leisure, medical treatment, or visiting friends and family. Ensure you have a valid passport and can provide evidence of financial support, such as bank statements or an affidavit of support. If visiting someone, an invitation letter may strengthen your application.
Filling Out the DS-160 Form
Complete the Online Nonimmigrant Visa Application (Form DS-160) with accurate information. After submission, print the confirmation page with the barcode, as you will need it for your visa interview. A recent photograph may also be uploaded as part of the form, in the specified format.
Need help with your B-2 visa?
Navigating the B-2 visa process doesn’t have to be daunting. If you find yourself overwhelmed by the requirements and steps involved, our team of experts is here to lend a hand. We can help you understand the eligibility criteria, gather the required documents, and smoothly guide you through the application process. Let us make your travel to the United States for leisure or medical purposes as stress-free as possible.
Scheduling the Visa Interview
Once the DS-160 form is completed, book an appointment for an interview at the nearest U.S. Embassy or Consulate. The interview is mandatory for applicants between 14 and 79 years of age. Younger or older applicants may have different requirements.
Paying the Application Fee
The application fee is mandatory and non-refundable. You must pay it before your interview and bring the receipt as proof of payment. Payment procedures vary by location, so refer to your local U.S. Embassy or Consulate for specific instructions. Keep in mind that an itinerary is not required for the interview, but having a planned schedule may be helpful for your own preparation.
Best Practices for your B-2 Visa Application Based on Experience
Here is a list of guidance for the U.S. B-1/B-2 visa application process, based on the detailed first-hand accounts:
- Fill out the DS-160 form carefully and comprehensively. As the original poster (OP) advised, “Provide comprehensive and honest information, even if you believe certain details might not favour visa approval.” Save your progress frequently to avoid losing information due to session timeouts.
- When scheduling your visa appointments, consider proximity to your location, not just earliest availability. The OP learned this the hard way: “In case of an emergency, make sure you select the nearest US embassy to your current location and not based on the likelihood of slots opening up.”
- If you have an urgent need to travel, don’t hesitate to request an expedited appointment. The OP’s experience shows that “Participation in a conference is a good enough reason for an emergency appointment if you can justify it well (significant monetary and/or opportunity loss, unforeseen travel requirement, short duration of visit, etc.).”
- You can submit an emergency appointment request more than once if needed. As the OP discovered, “You can apply for an emergency appointment more than once from the same account. That is, you don’t have to pay the visa application fee again to get another shot at getting an emergency appointment approved.”
- Double-check all application materials before submission. The OP cautioned, “Be careful and always double-check your application or requests, such as whether the necessary attachments are included before submission.”
- For the visa interview, be prepared to confidently answer questions about your visit’s purpose, duration, ties to your home country, and background. The OP listed the key questions they were asked.
- Having all supporting documents on hand is wise, even if they aren’t all requested. “I was carrying a copy of my travel award letter, bank statement, proof of assets, qualification certificates, etc., but I wasn’t asked to produce any of them,” the OP noted.
By carefully preparing your application materials, promptly requesting an expedited appointment if needed, and confidently demonstrating your qualifications and visit intentions, you improve your chances of smoothly navigating the B-1/B-2 visa process.
After the Visa Interview
Following the completion of your B-2 Visa interview, your application enters a critical stage. Your attentiveness to the next steps can be just as important as preparation for the visa interview itself.
Visa Approval and Issuance
If your B-2 Visa is approved, the Consular Officer will inform you at the end of your Visa Interview Appointment. Issuance fees may apply, payable in accordance with the Department of State regulations. Your visa will include your photo that must meet specific photo specifications, and it will denote your maximum stay. Remember, this visa does not permit you to work or study in the U.S.
Administrative Processing and Potential Delays
Occasionally, visas require additional administrative processing, which can extend the processing time. This period allows consular officers to review further or require additional documents. Should this occur, you will receive instructions on the next steps directly following your Visa Interview. Remain responsive to any requests from the embassy or consulate to avoid unnecessary delays.
Need help with your B-2 visa?
Navigating the B-2 visa process doesn’t have to be daunting. If you find yourself overwhelmed by the requirements and steps involved, our team of experts is here to lend a hand. We can help you understand the eligibility criteria, gather the required documents, and smoothly guide you through the application process. Let us make your travel to the United States for leisure or medical purposes as stress-free as possible.
Visa Denial and Ineligibilities
Not all visa applications are accepted. If you are found ineligible, the consular officer will provide specific reasons based on U.S. law. You will also receive information on whether you can apply for a waiver of ineligibility. Be aware, some ineligibilities are permanent, while others may be resolved by providing additional information.
Visa Collection and Delivery
Upon visa approval and issuance, you will be informed about the methods for visa collection and delivery. Typically, you may collect your visa from the U.S. embassy or consulate, or it can be sent to you by courier. Ensure to check your passport with the issued visa for correctness, and inquire about the procedures to renew or apply for an extension should you need to stay in the United States for a longer period than initially granted.
Read Next
Frequently Asked Questions (FAQ)
What documents are needed for a B-2 visa application?
You’ll need your passport, a photo meeting specific requirements, evidence of financial means, a letter describing the purpose of your visit, and ties to your home country. For detailed guidance, the official U.S. Visas website provides a comprehensive checklist.
How can one apply for a B-1/B-2 visa?
Start by completing the DS-160 form online, pay the application fee, and schedule your interview at the nearest U.S. embassy or consulate. Ensure you have all the necessary documentation prepared before your interview date.
What is the process for completing the DS-160 form online?
On the Consular Electronic Application Center (CEAC) website, select the DS-160 form, fill it out accurately, and submit it. Remember to save your confirmation page, as you’ll need to bring it to the interview.
How long does the B-2 visa application process typically take?
The timeline can vary based on the embassy or consulate, but after submitting the DS-160 form, you can typically expect to schedule an interview within a few weeks. Processing times post-interview can take from a few days to several weeks.
What are the current fees associated with applying for a B-2 visa?
The visa application fee, also known as the MRV fee, is currently set at $160. This fee is non-refundable, even if the visa is not granted. Additional costs may arise for visa issuance, depending on your nationality.
Under what circumstances can a B-2 visa be denied?
A B-2 visa can be denied for various reasons such as insufficient evidence of ties to your home country, unclear purpose of visit, or lack of financial stability. Misrepresentation of facts or previous immigration violations can also result in denial.

